Follow us
WANT A QUOTE? CALL US - 0400951936
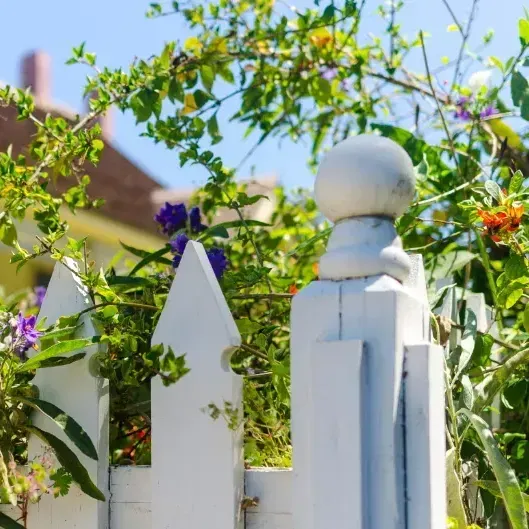
A well-maintained fence can greatly enhance the curb appeal of a property, and one of the most effective ways to give your fence a fresh new look is with a coat of paint.
Fence painting is a simple yet impactful way to transform the appearance of your outdoor space, whether you're looking to match your fence to your home's exterior, add a pop of colour to your garden, or simply protect your fence from the elements.
In this blog, we'll explore the ins and outs of fence painting, from preparation and planning to application and maintenance, providing you with the tips and tricks you need to achieve a professional-looking finish and keep your fence looking its best for years to come.
Here are some tips to help you paint a timber fence
1. Prepare the surface
Before painting, make sure the fence is clean and free of dirt, grime, and mildew. Use a pressure washer or a scrub brush to remove any debris.
2. Sand the timber
Sand the entire fence to smooth out the surface and remove any rough spots. This will help the paint adhere to the timber.
3. Fill any gaps or holes
Use a wood filler to fill any gaps or holes in the fence. Let it dry completely before sanding it down to a smooth finish.
4. Choose the right paint
Select a high-quality exterior paint specifically designed for timber fences. Consider the colour, finish, and durability you need.
5. Apply a primer (optional)
If the fence is new or has never been painted before, consider applying a primer to ensure better paint adhesion and coverage
6. Use a roller or brush
Use a roller to cover large areas quickly, and a brush to paint the edges, corners, and any intricate details.
7. Work in sections
Divide the fence into sections and complete each one at a time to maintain even coverage and avoid streaks.
8. Apply thin coats
Apply two or three thin coats of paint, allowing each coat to dry completely before applying the next one.
9. Don't paint in direct sunlight
Paint in the shade or on a cloudy day to prevent the paint from drying too quickly.
10. Seal the deal
Consider applying a clear sealant to protect the paint and extend the life of the fence.
Additional tips
- Always read the instructions on the paint can and follow the manufacturer's recommendations.
- Use a drop cloth or old sheets to protect the surrounding area from paint spills and splatters.
- Remove any hardware, such as hinges or latches, before painting.
- Consider using a paint with a built-in UV protector to help prevent fading and discoloration.
- If you're painting a fence that's been previously stained or sealed, make sure to use a paint specifically designed for use over existing finishes.
IN SUMMARY
By following these tips, you'll be able to achieve a professional-looking finish and enjoy a beautiful, long-lasting timber fence.
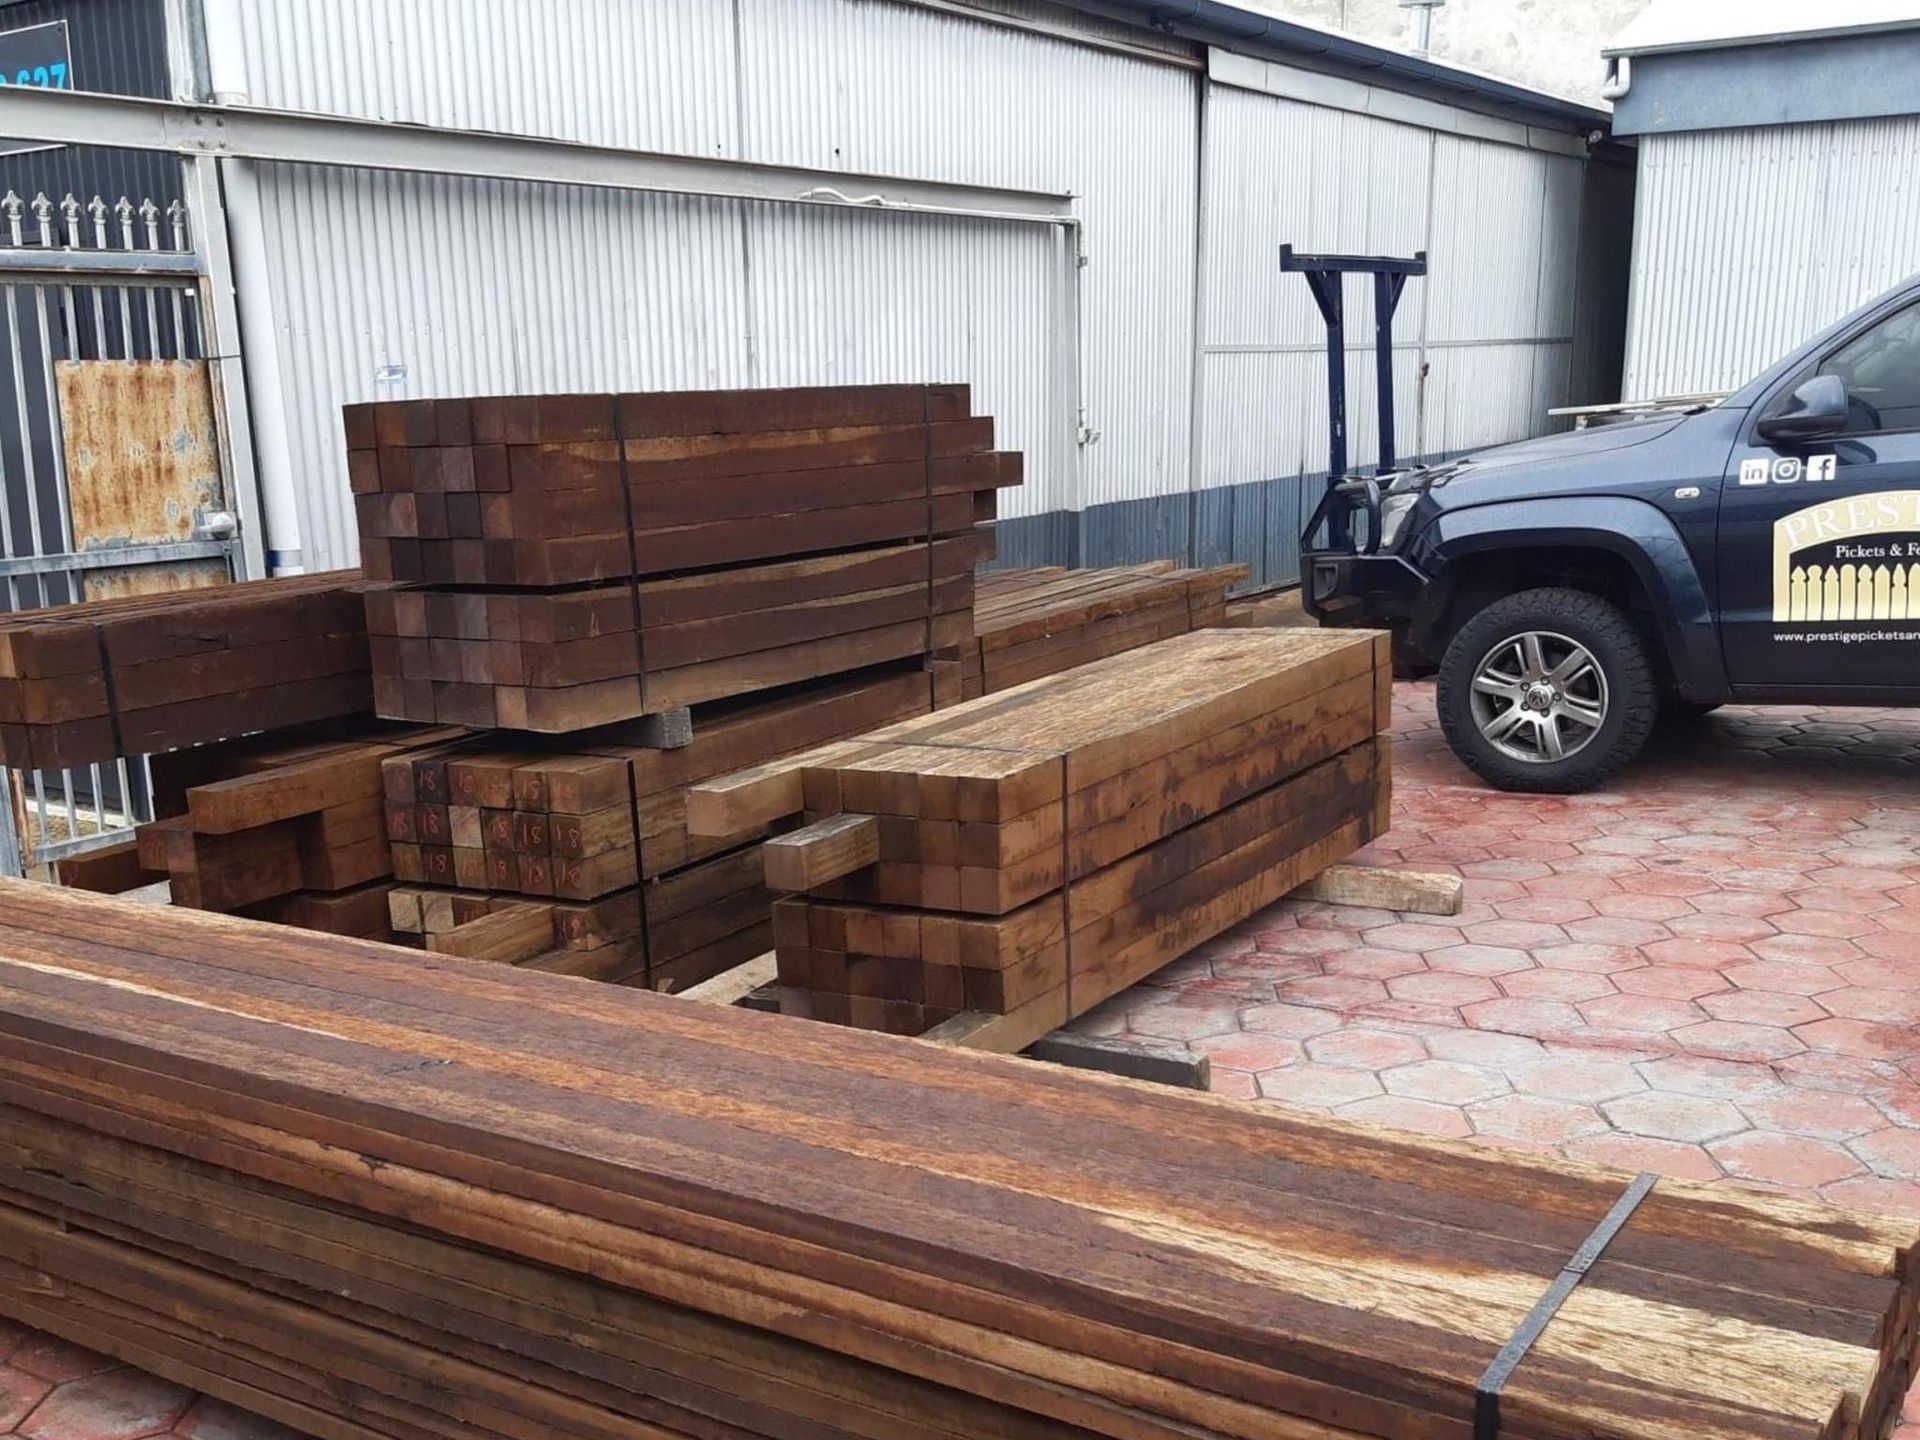
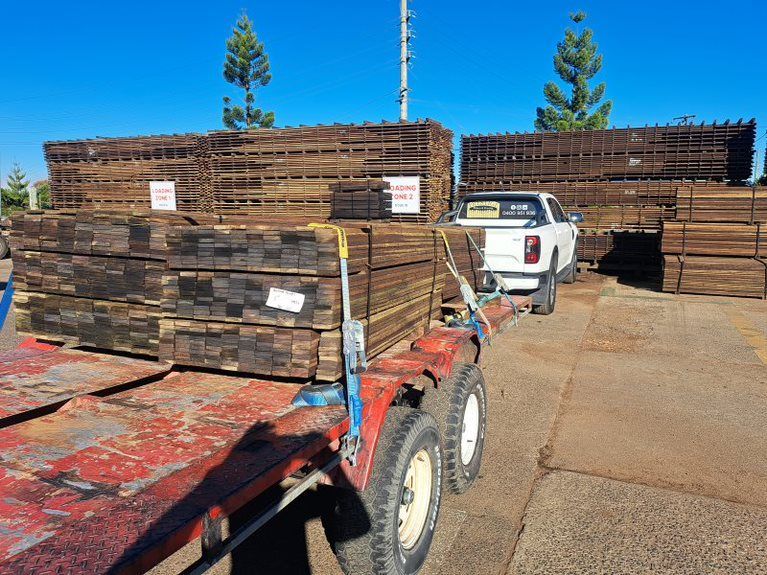

We'll find the right pickets for you.
We'll help you find the pickets to suit any fencing style.
Website designed by 🐷 Little Pig Consulting 🐷